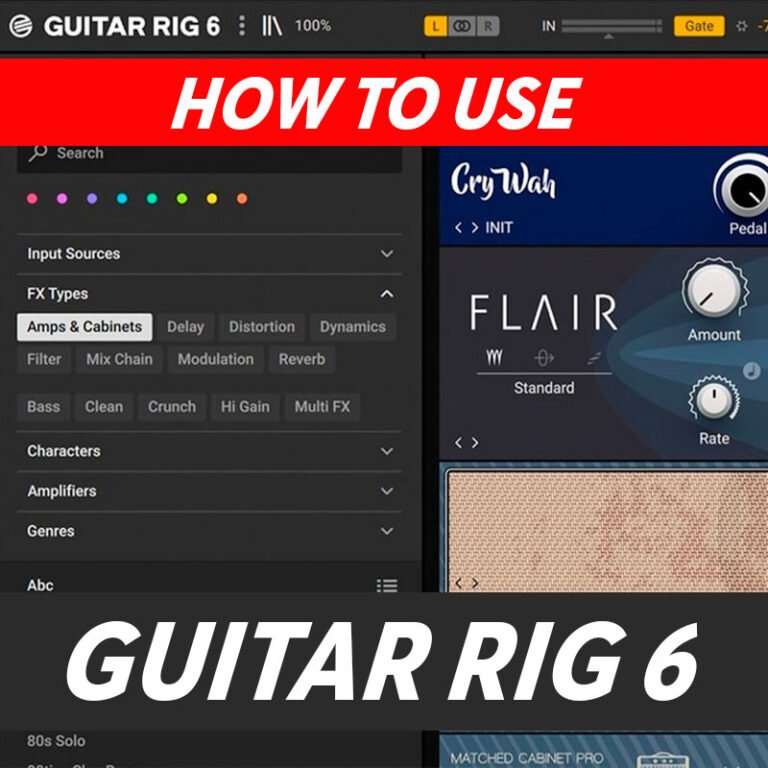
Guitar Rig 6 is a versatile software designed for guitar and bass processing, offering a wide range of effects, amplifiers, and cabinets. To use Guitar Rig 6 effectively, follow these general steps:
Installation:
- Make sure you have Guitar Rig 6 installed on your computer. If not, download and install it from the official Native Instruments website.
Launch Guitar Rig 6:
- Open your digital audio workstation (DAW) or standalone version of Guitar Rig 6.
Setup:
- Set up your audio interface to ensure that your guitar or bass is properly connected to your computer.
Insert Guitar Rig 6 as a Plugin:
- If you’re using a DAW, insert Guitar Rig 6 as a plugin on a new or existing track. In your DAW, look for the option to add an instrument or effect, and choose Guitar Rig 6 from the list of plugins.
Choose a Preset:
- Guitar Rig 6 comes with a variety of presets that you can use as a starting point. Browse through the presets to find a sound that you like.
Adjust Settings:
- Once you’ve selected a preset, you can fine-tune the settings to customize your sound. This may include adjusting the amplifier settings, adding or modifying effects, and tweaking the EQ.
Explore Amps and Effects:
- Guitar Rig 6 offers a wide range of virtual amplifiers, cabinets, and effects. Experiment with different combinations to find the tone you’re looking for. You can drag and drop modules, change the signal chain, and customize each component.
MIDI Control (Optional):
- If you have a MIDI controller, you can use it to control various parameters in Guitar Rig 6. Assign MIDI knobs or sliders to parameters like gain, volume, or effect levels for real-time control.
Recording:
- Once you’re satisfied with your sound, you can start recording. Arm the track in your DAW and hit the record button.
Mixing and Exporting:
- After recording, you can further mix and process your guitar track within your DAW. Adjust levels, add additional effects, and make any necessary adjustments. When you’re done, export your final mix.
Remember that these are general steps, and the specific details may vary depending on your DAW and the version of Guitar Rig 6 you are using. Refer to the user manual for detailed instructions and to learn about specific features available in your version of Guitar Rig.